How to Close Sausage Casings?
Sausage making at home is an exciting hobby for sausage Lovers.
Which meat combinations suit your taste, how spices enhance the flavor, and the types of casings that are best for your needs are what you learn.
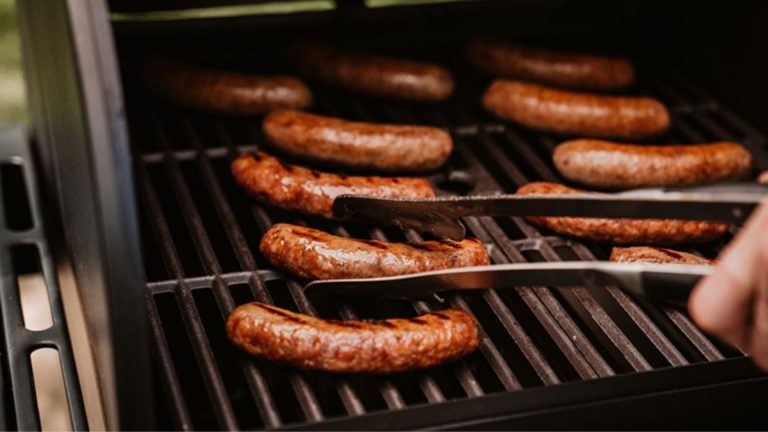
On top of that, if you are bend on making your own sausages, then you need to know how to close sausage shells. Sausages that are sealed will give you a link to a grill or smoke.
It isn’t that difficult to do, but the steps may be different depending on the casing you’ve chosen.
It’s easier to work with natural shells than it is with fibrous ones. Read on if you want to learn more.
Table of Contents
How to Seal Sausage Casings?
Sausages can be stuffed with many different materials. Natural casings are thin, so you have to be careful with them when stuffing, but this means smoke penetrates them easily, making them a better choice if you love smoked sausages.
Compared to the other way around, the fibrous casings are more durable and harder to break, and yes, they are the ones you should consider if you are planning to store your sausage casings for later use. Depending on the type of sausage, how you close it is all up to your preference.
You don’t need any other materials besides the sausage link to make natural casings. twine, or string, and a pair of scissors are needed for fibroblasts.
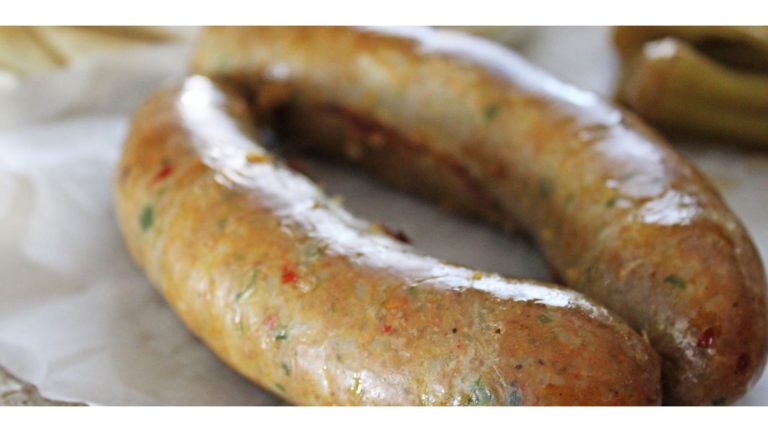
Sealing Natural Casings
It’s relatively easy to close natural casings, but you need some practice. Set the sausage down on a surface after you have one.
Make sure that other objects are out of your way so that you can work.
- To hold the ends of the sausage in one hand, fold it into two identical halves. You can find the middle of the sausage by pinching it with the other hand.
- If you twist it, it will fall. The direction has nothing to do with it. If you grab the sausage by the seal, it will be four to six inches in size.
- If you want to squeeze both ends with the other hand, go down to the desired size since the sausage now has two strings.
- The sausage is going to stay that way. Do not twist the individual sausage at this point. You will either twist the ends or not.
- Simply run it through the loop you made with one link. You already have the correct size you need.
- Pull one string through the second loop after pinching the two strings of the sausage. You should repeat the steps until you get to the end of the sausage.
Sealing Fibrous Casings
You can only pinch twine and twist them, so you need some string or twine. You have to close the other end because most of them come with one end sealed. Learn how to do it.
- Before filling, take a small pin and poke a hole at the sealed end of the casing. As the casings are stuffed, this helps to let the air out.
- You should leave a few inches empty so that you can seal the end. The sausage should be turned upside down so that the unfolded end is at the top.
- If you want to fan-fold it, fold it in. To squeeze the air out of the fold, press the bottom of the fold.
- If you want to hold the top of the fold, hold a pair of scissors with one hand. Two small cuts need to be made at the ends of the fold.
- The twine or the string must stay in place. Pull a piece of twine or string and fold it in half. Tie it together by wrapping it around the cuts.
- You should make a square knot at least two times. You can make a square knot with the hanging twine if you move the loop to one side.
- If the case is longer, it’s optional to do this step. The sausage link needs to be pinched to the desired size. Wrap the twine tightly around the piece of twine.
Conclusion
If you understand how to close sausages, you will be able to seal sausages like a butcher. For those of you who have been sticking to skinless sausages for lack of know-how on handling casings, the tidbits herein will go a long way in helping you enjoy your sausages better.
Making sausages is fun, but it does take meticulous attention to detail to get everything right. You don’t want to go through the hustle of picking the right cut of meat for your sausages, add the right amount of water in the mix, pick the ideal kind of salt for your sausages, get the fat to meat ratio right and ensure everything else is picture-perfect, only to end up with sausages that look messed up.
Thankfully, now that you know how to stuff your sausages, that won’t have to be the case anymore.
You will have nice, professional-looking sausages if you follow the steps and watch the videos for your next batches.

Foodie and a passionate cook, I am here to share all of what I know about cooking, kitchen, and food prepping.
Follow me for delicious and healthy recipes.